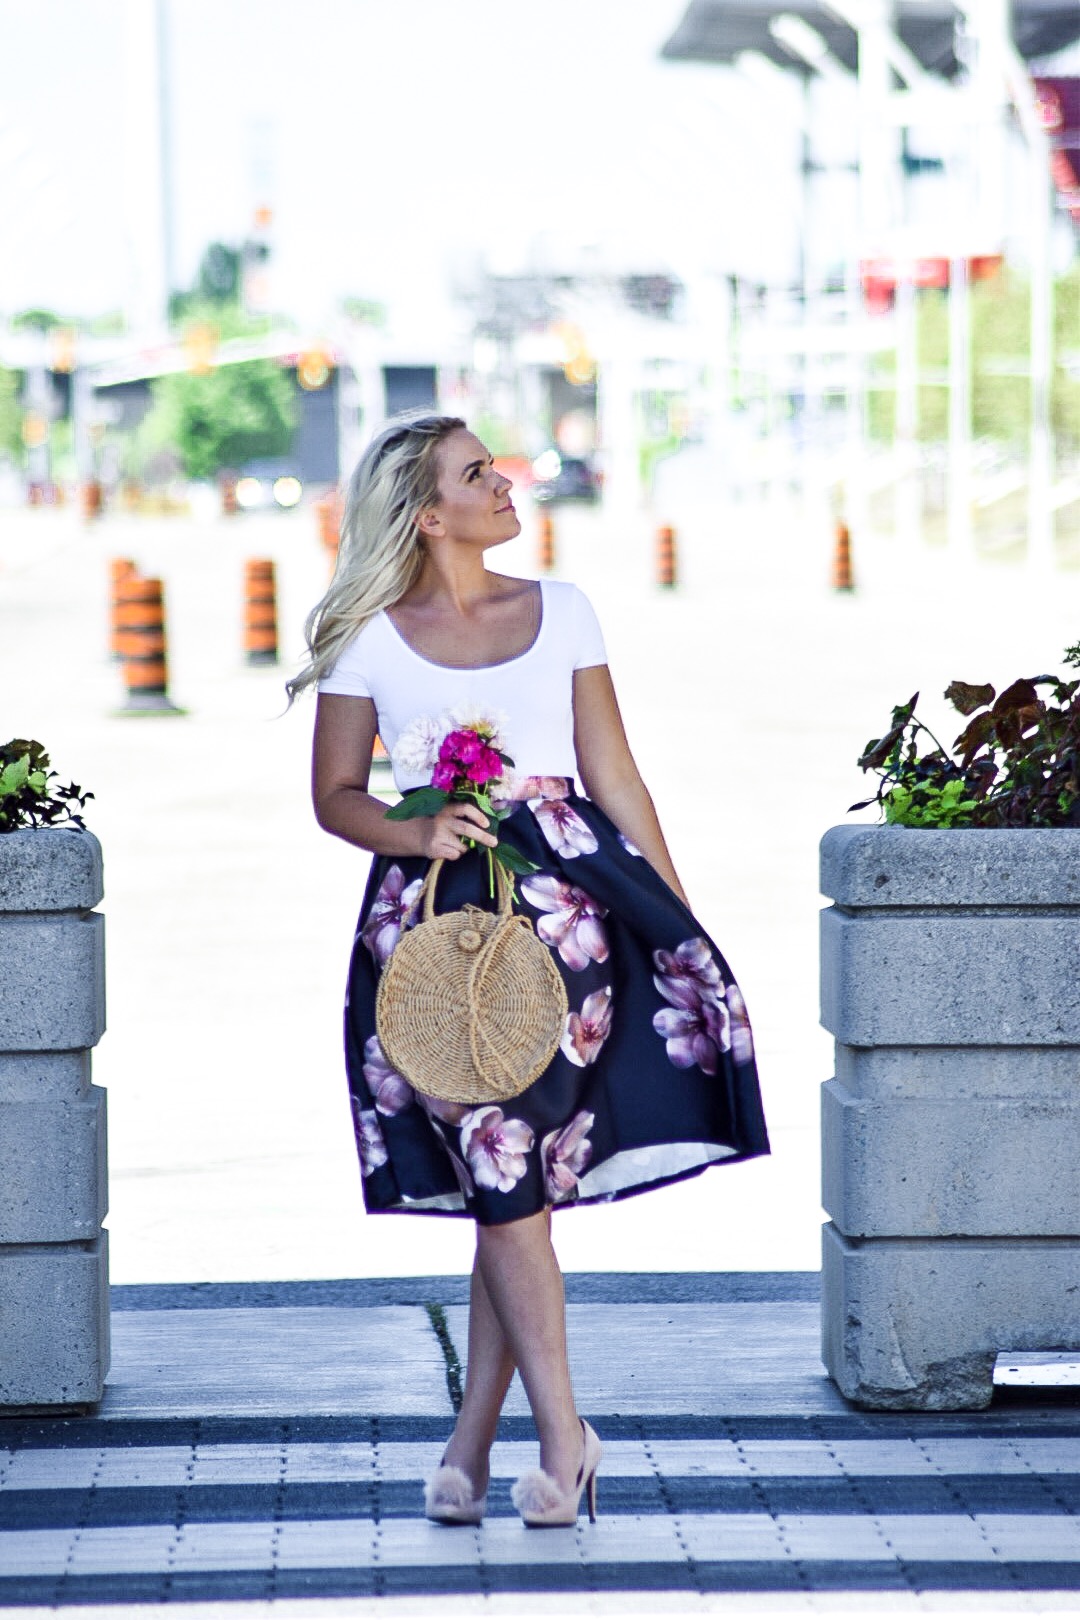
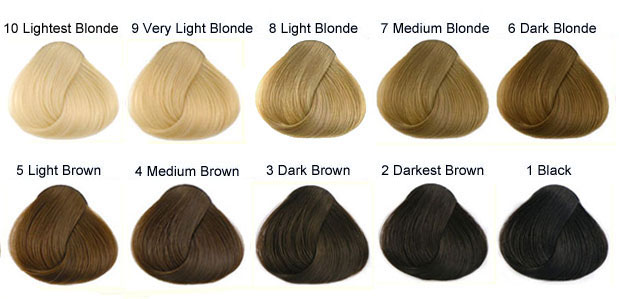
All my non-natural blondes say hey-o! As you sadly may know, I wasn’t born a blondie – my blonde hair comes from a bottle. I’ve been going blonde since high school, but I’ve been going super blonde for about 2 years now. Unfortunately for me, my blonde hair ranks a 10 on the hair color scale, and my natural hair is about a 3. Below is the hair color scale in case you have no idea what the heck I’m talking about.
| Picture by badbaby |
So as you can guess, my roots are very noticeable when they grow out. I’m talking a black line on a white piece of paper. I was seeing a stylist for a while, but after she damaged my hair, I started to do it myself. Once I started to do it myself, I noticed how much time it was actually taking me just to lighten it (about a day). Then I started to include how quickly my roots would start to grow in (about 4 weeks). Altogether, I looked back and realized that I was not willing to spend one day a month just to do my blonde hair. Mom life and blog life just doesn’t allow for that much free time.
So, I started to look for a solution. Brandon told me I should just go back to being a brunette – haha, not in this lifetime buck-o. I’ve spent thousands of dollars going blonde and I ain’t turning back now. I started looking for a way to be a more natural blonde. How I could get my hair to look like it naturally grows into blonde. I found this fitness blogger – Brittany Dawn Fitness – on Instagram, and I loved her hair. I’ve been following her for a minute when finally she posted how she does her hair. Her roots look so natural and not like my straight black line. She shared the Shadow Root hack (not really a hack, but okay).
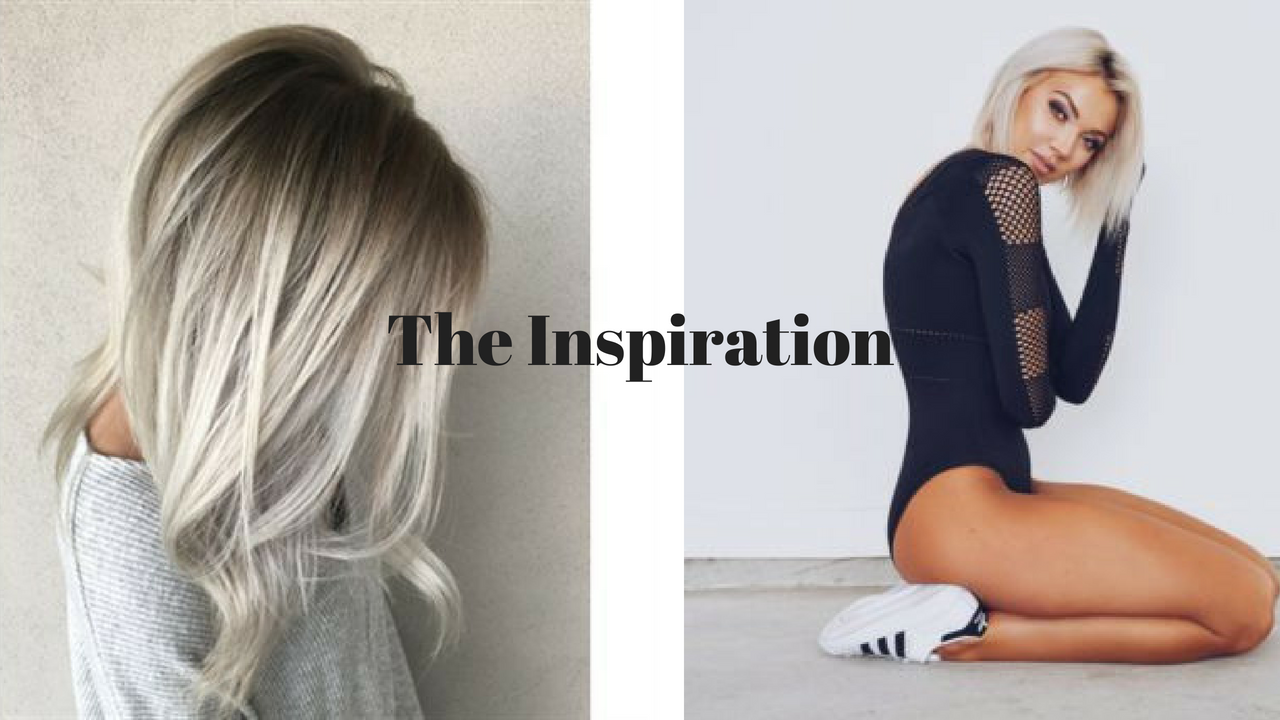
| Source: Pinterest, @brittany_dawn_fitness |
What is a Shadow Root?
Shadow Roots are a sneaky way of adding color into your look. It embraces the natural hair growth by making it part of the hairstyle. It can be compared to the ombre trend, in the sense that it makes the growth look more natural.
Who can do a Shadow Root?
The most popular shadow root is on blondes (like me!), but it can be done with any hair color.
Why should you opt-in for a Shadow Root?
Anyone coloring their entire head in the opposite color of their natural color. It will bring more of a natural look for when your hair is starting to grow out.
How to do your own shadow root at home – for blondes
What You’ll Need
- Demi-Permanent Color – Medium Ash Blonde 7A
- Sensitive Scalp 20 Volume Creme Developer
- Color Charm Lightest Ash Blonde Toner T-18
- Hair Color Mixing Bowl (I used 2)
- Hair Dye Brush x 2 (I use one for the bleach, one for the toner)
- Clips
- (this link is for the above 3 products)
- Gloves
- Comb
- Hair Cape or an Old T-Shirt
What to Do
Step 1
Dye your hair the color of your dreams. If you are looking to bleach your hair to a bleach blonde like mine, check out my tutorial on – HERE.
Step 2
Gather all your materials
Step 3
Section your hair into 4 sections. Taking your comb, start by making a straight part down the center of your head. Brush the hair into the 2 sections. Taking your comb again, make a straight line from the back of your ear up. Do this on both sides so that you have 4 even sections.
Step 4
Mix the dye. Pour all the contents of the demi-permanent dye into the mixing bowl. Slowly add in a small amount of the developer. Mix until it has the consistency of pudding.
Step 5
Drape your cape over your shoulders or put on your old T-Shirt. Start by going down the center part, then down each of the side sections. Once you have bordered the four sections on your head, start to make paper thin sections. Use the end of your dye brush to make the tiny sections. Once you’ve completed the front 2 sections, move to the back.
The key to making the shadow root look natural is to not be precise. You can let some sections be more covered than others. Overall it will blend more in the end.
Step 6
Once your roots/hair are covered in the dye, carefully clip up the rest of your hair. Try not to get the ends covered in the dye – if you do, quickly rinse it off. The, take the plastic bag and wrap it around your head. The bag will help trap the heat and speed up the process. Let the color process for 20 minutes. After the time is up, rinse the color out.
Step 7
Mix the toner. Empty the whole bottle of toner into a clean bowl. Add in the developer and mix until it has that pudding consistency.
Step 8
Apply the toner to the hair that was just colored. Allow processing for 3-5 minutes. Then apply the toner to the ends of the hair. Let process for a few minutes – being aware of the color changing effect.
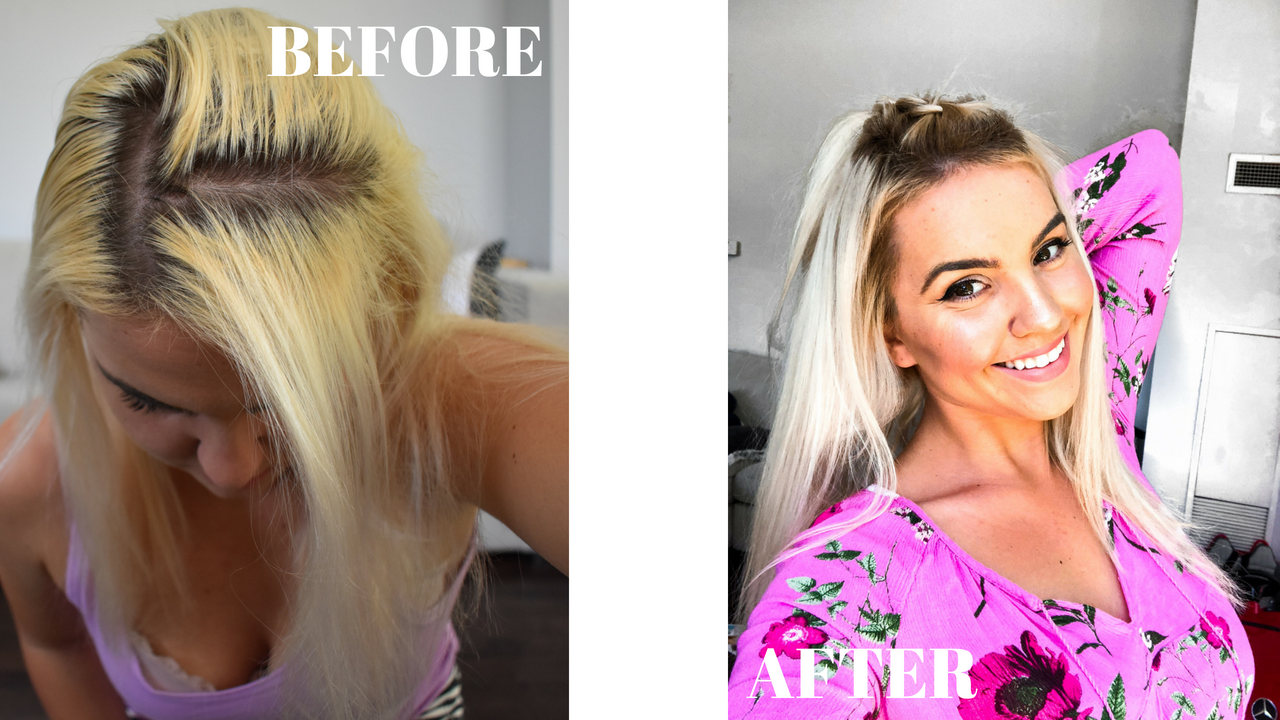
Step 9
Then rinse, shampoo + condition as usual. Now style and enjoy!