
I need to start off by saying that ALL the alterations were done by hand. I was too scared to ruin the dress with the sewing machine – Plus, the fabrics are so delicate, I didn’t want the machine to eat them. I kept most of the original dress in tact – I only removed the weird pearl collar on the neckline. I mainly created over top of the original dress, because I did like the original style and fabric of the dress.
Why did I make my own Wedding Dress?
I was facing a major case of blogger burnout (in case you are feeling the burnout too, check out my post on it HERE) and I was ready to quit. I feel like I needed a creative outlet to get inspired. I am currently in the wedding vibe. We just started planning our wedding and of course all I can think about is my wedding dress. I wanted to make one for fun to give myself an idea of what I might want to wear on my special day.
Check out my video on How I Turned a Vintage Wedding Dress into my Dream Wedding Dress HERE.
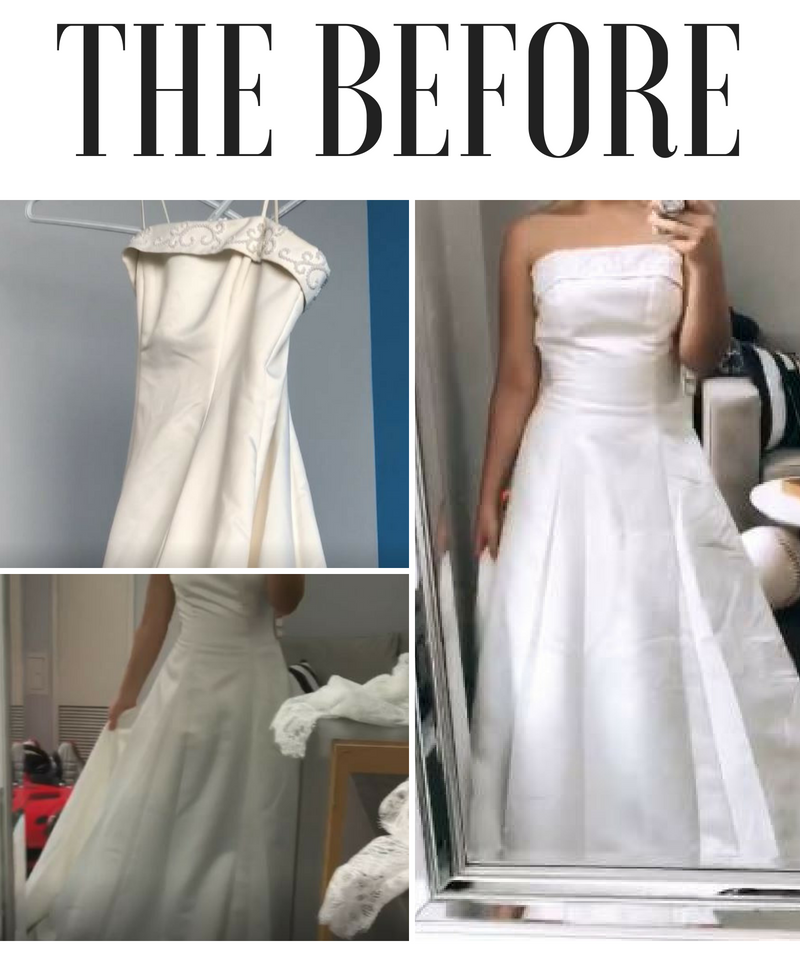
The dress is an A Line dress. It has an under skirt to create a full skirt. It is made with an Ivory Charmeuse fabric. It had spaghetti straps and a pearl beaded collar on the neck line.
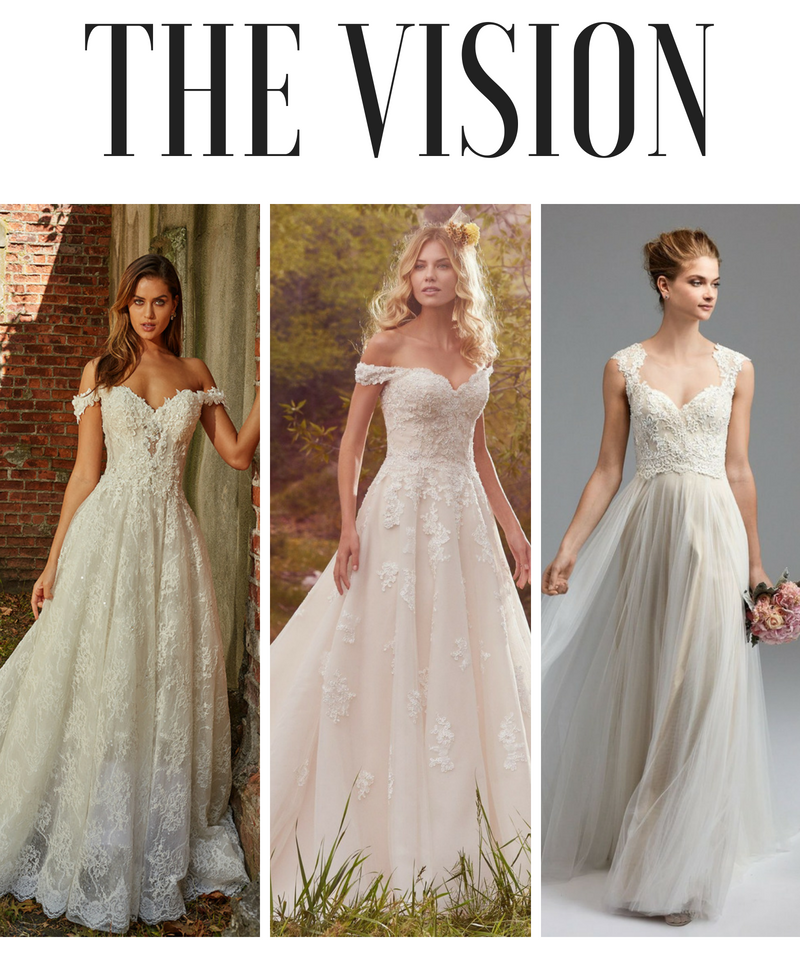
|Dresses L to R: Eve of Milady, Maggie Sottero and Watters|
I love romantic styles. My dream dress has lace, off the shoulder, longish sleeves and a full princess vibe bottom. I love a little drama and wow factor. The dress should be inspired by a ballerina costume and have a flowy bottom with a tight, tight bodice.
I went searching for this dress in about 5-6 thrift stores in Toronto. I tried on a few and then brought them home and realized I hated them. Like this weird lace one that looked white and ended up being peach. I saw this one on the rack and ran to buy it. I was so lucky I even had a coupon, so I ended up getting it for only $17! The dress wasn’t disgusting or terribly out of style like you would think when I say thrift store wedding dress.

Cleaning it
I started by washing it. Being the impatient girl that I am, I decided to wash the dress by hand. Luckily it wasn’t stained or dirty at all. There was a bit of dirt around the bottom edge from being dragged through the thrift store. I put the dress in the bathtub and hand washed the dark marks with baby body wash – I wanted to use the gentlest soap possible, luckily, I had Logan’s.
Then I hung it up to air dry in the bath tub for a couple of hours. When it was finally dry, it was so wrinkled! I spent a good 2 hours carefully steaming the dress and spot cleaning the final marks.
Changing the neck line
Changing the neck line from straight to sweetheart was probably the scariest thing for me. It was one of those changes that can destroy the dress if I make the wrong cut or stitch in the wrong place. I made myself a template to make the cuts. After I cut along the template, I cut 2 times to allow the fabric to fold without wrinkles. I pinned and compare the 2 sides over and over so that they would come out identical. I went over the neckline slowly by hand and stitched it completely.
Adding the Tulle
I LOVE TULLE! It’s so pretty and it is one of my favorite fabrics – I think that descends from my ballerina days. I wanted to add tulle to the skirt to give it more of a flowy and bohemian vibe. I found the natural waist line on the A Line dress. I lightly bunched the tulle and hand sewed it onto the waist line.
Adding lace to the Bodice
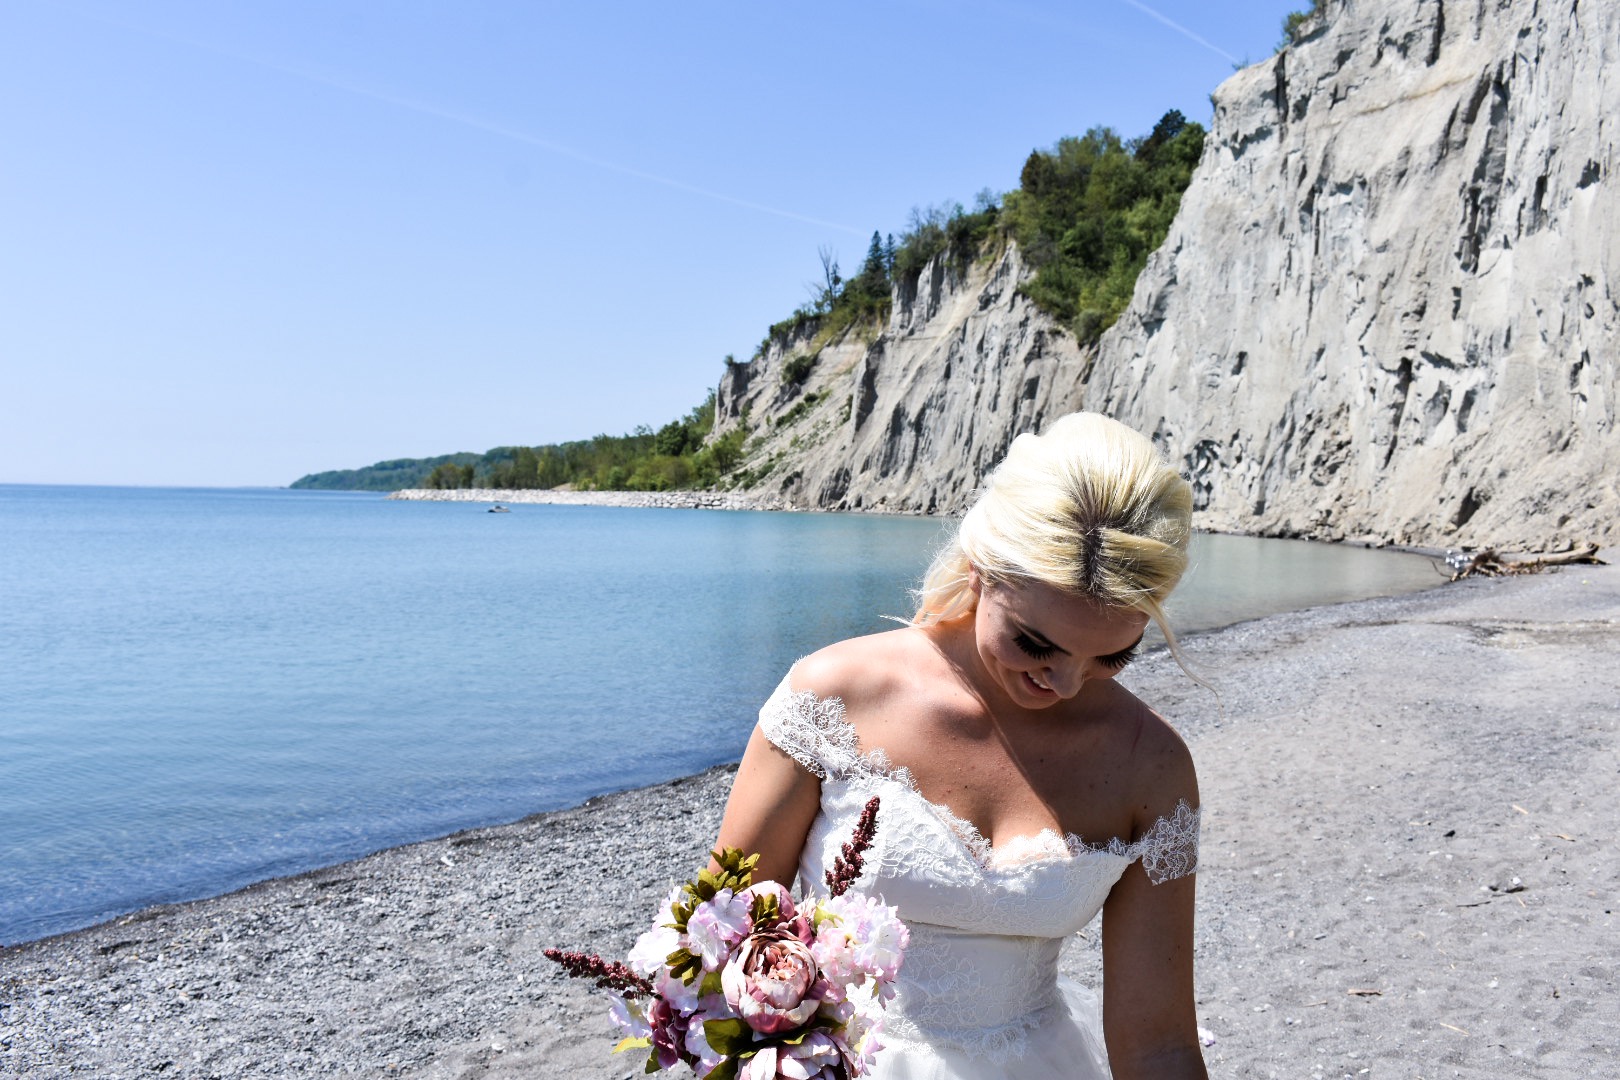
The lace I chose was so pretty and delicate – it ended up costing more than the dress and all the other materials combined. It also took the most time because I had to line each section of the lace, so it didn’t bubble. I wanted it to be tight and seamless on the bodice, so I pinned and repositioned continuously.
Creating the sleeves
I love the look of the off the shoulder dress. I think that the decalage and collar bones are the most beautiful part of a woman – and I love that part of myself. I wanted to add a short lace cap sleeve that would either hang off the shoulder or be tight and fitted off the shoulder. The tight and fitted look, ended up looking better, so I went with that.

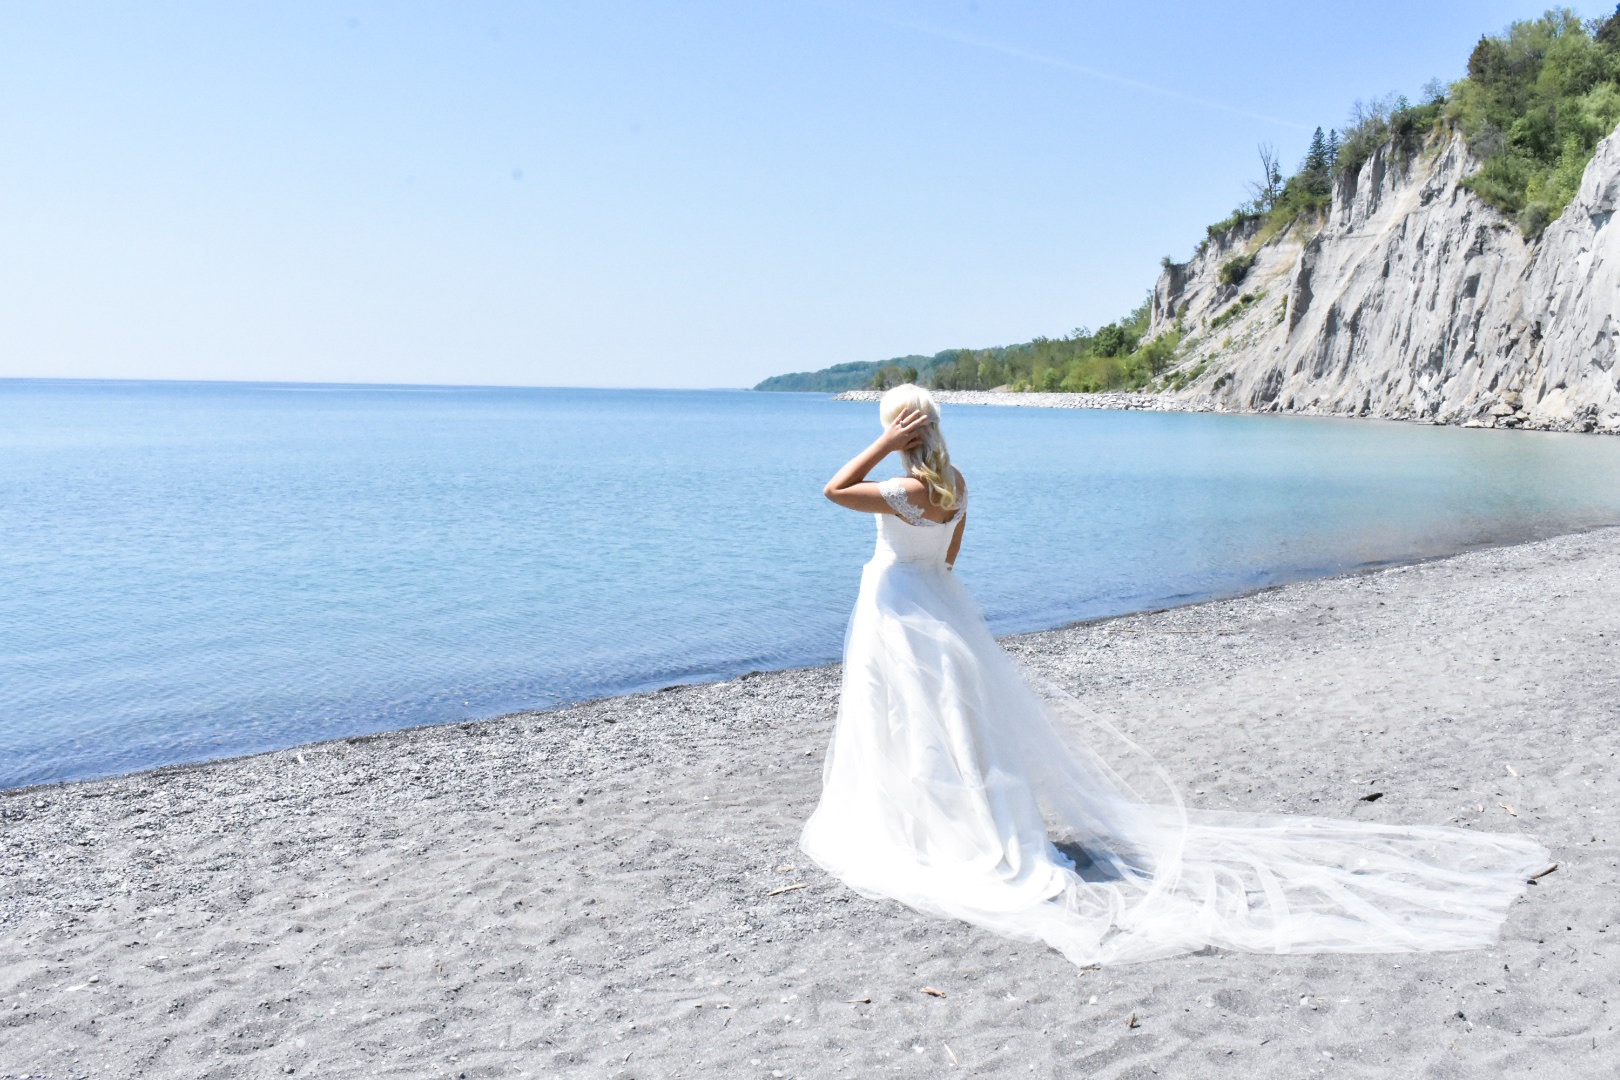
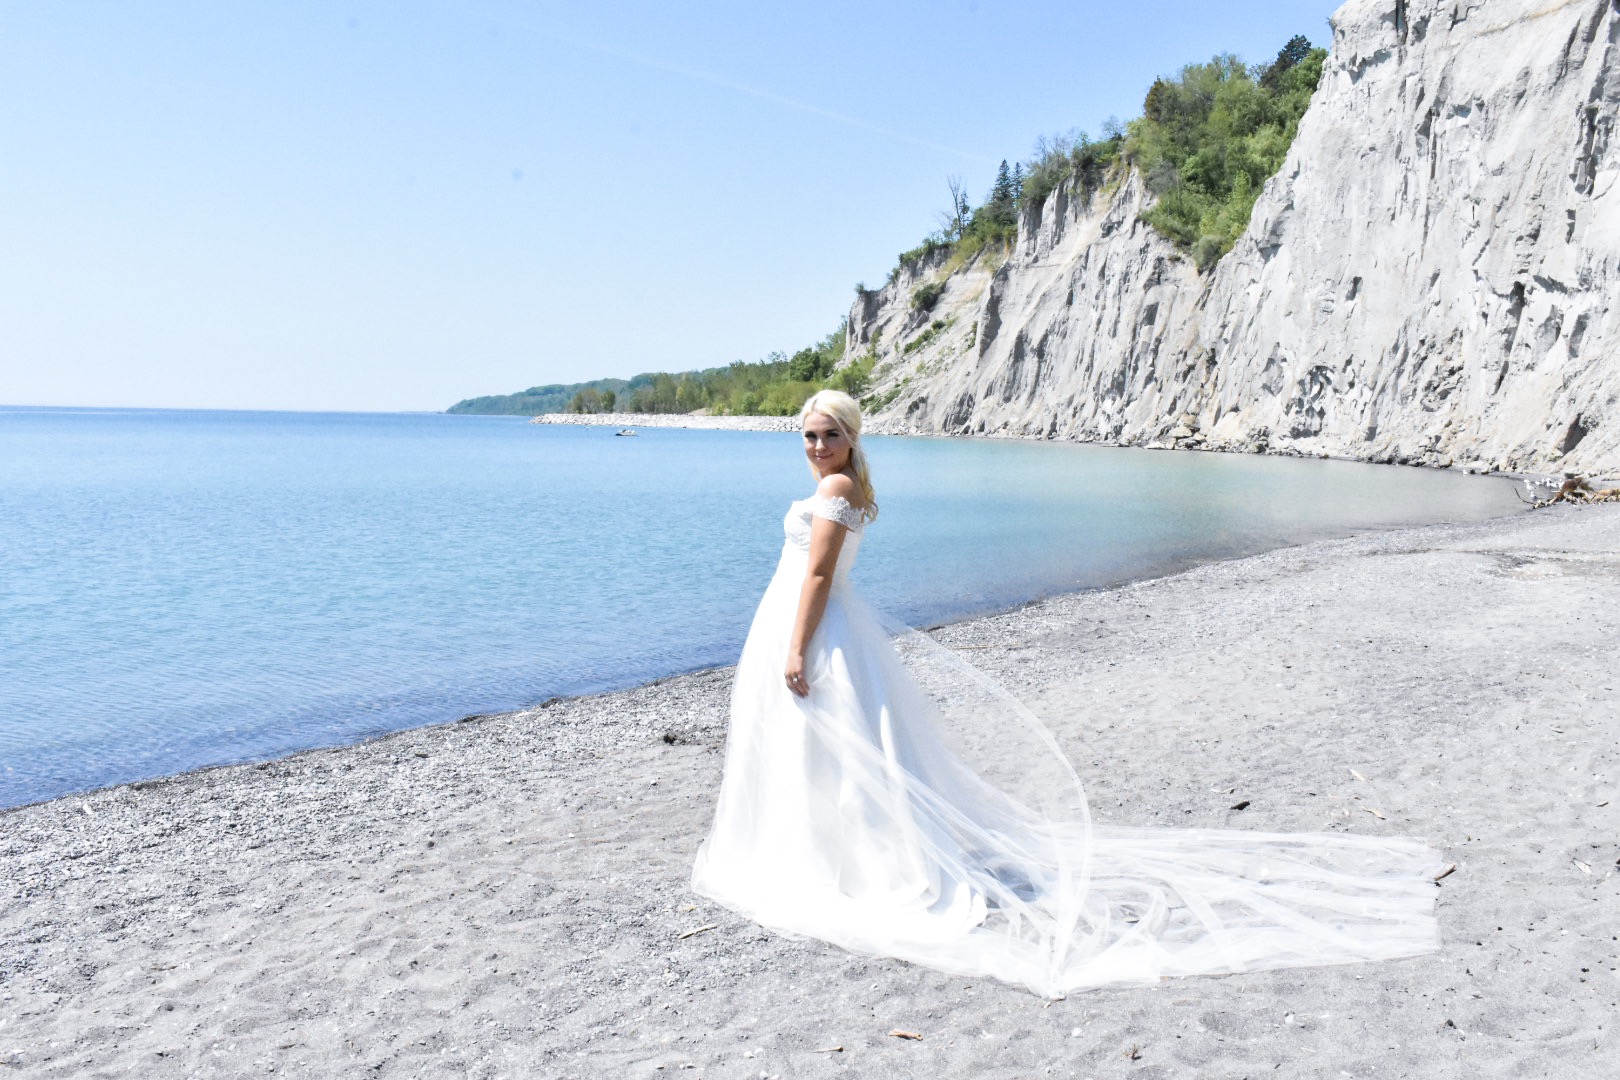
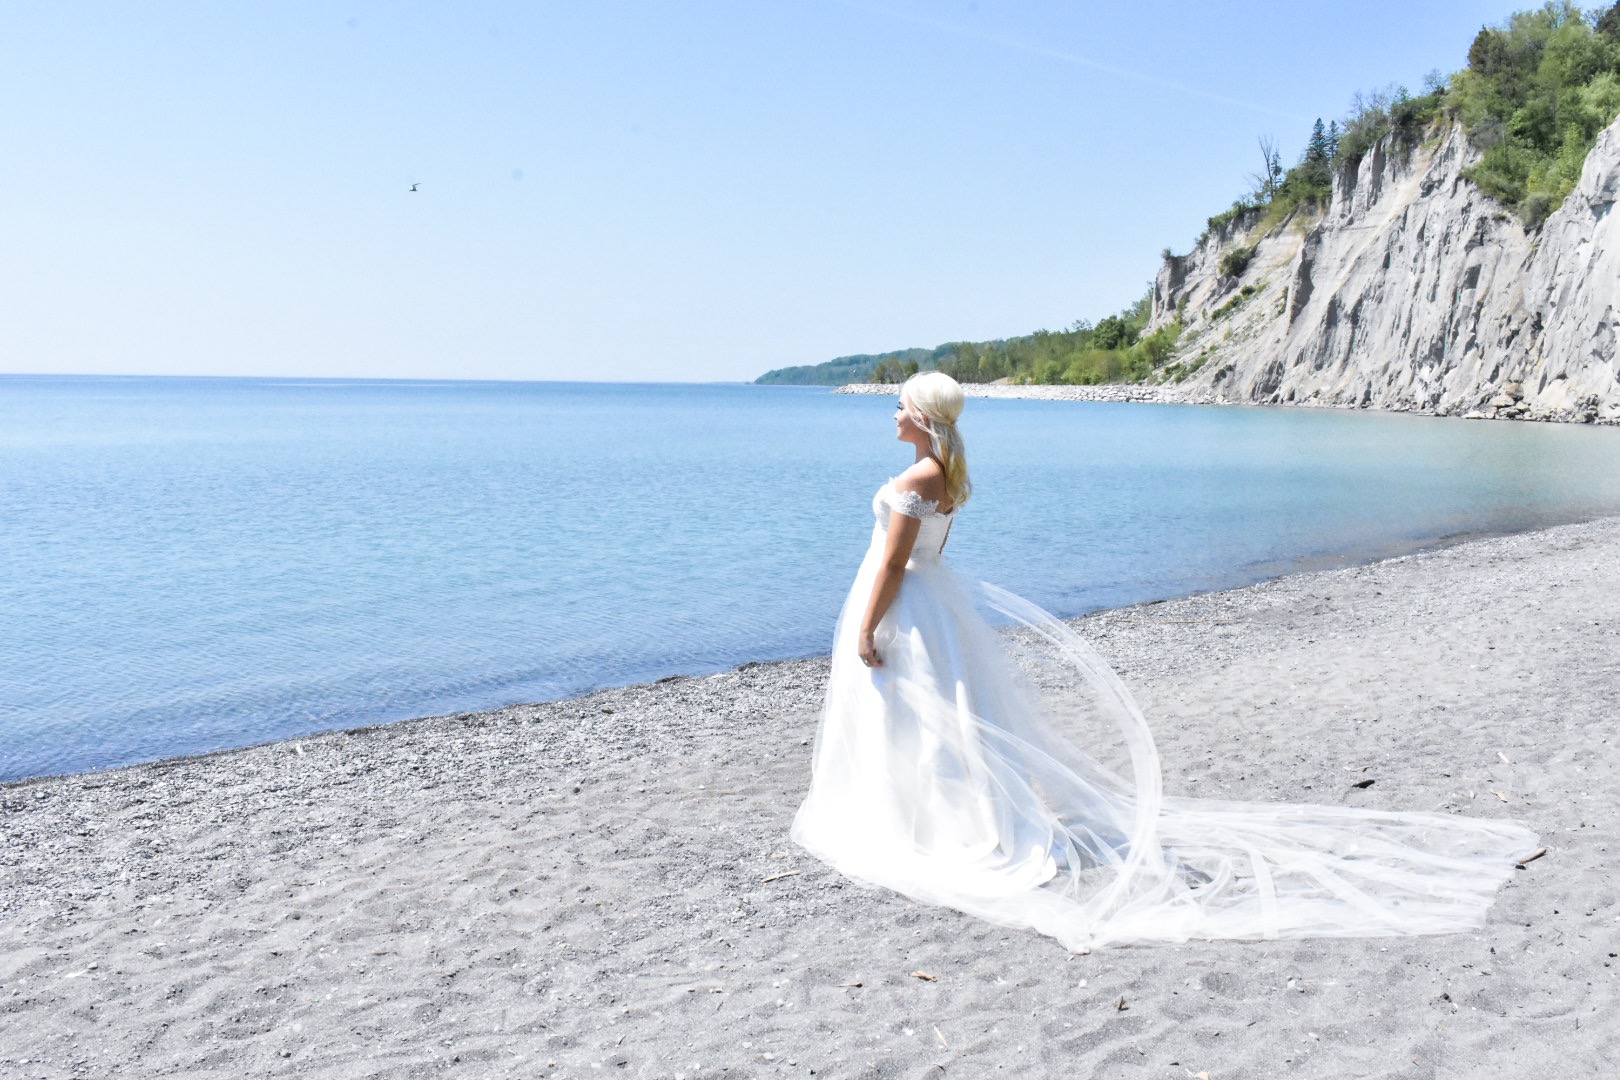


I just have to say that I cannot believe that I created this dress. I am so proud to say that I Turned a $17 Thrift Store Wedding Dress into a $5000 Wedding Dress! It took me about 30 hours total to do (that lace bodice was a time killer), since I did everything by hand. If I wasn’t so excited about it, and already shown Brandon and my whole community, I would wear it on my wedding day. This project definitely has me thinking about making my own wedding dress.


Cost Breakdown of My Thrift Store Wedding Dress:
Dress: $19
Sewing machine that I never used: $80
Fabric: $40
Time spent: 25 hours (ish)
Total cost: $140
Similar Designer Dresses I liked: $2000+
I put a lot of time and effort into making this dress into something special and unique. If you are interested in purchasing it: send me an email at mamablondeinka@gmail.com
[Sizing Information: The dress is a size 10. It fits me like a glove. My measurements are (bust- 34C, waist- 27, hips- 35). The dress can be altered again to fit larger or smaller sizes.]
Check out my video on How I Turned a Thrift Store Wedding Dress into my Dream Wedding Dress HERE.